In this guide, we’ll explore how to access the Oblivion Remastered deluxe edition content, specifically the Wound in Time and Burning Trail expansions. These additions enhance gameplay with new quests and experiences. Follow our walkthrough for tips on navigating challenges and unlocking content. Get ready for an immersive journey through the realms of Oblivion.

So, you’ve dived into the Oblivion Remastered Deluxe Edition and you’re itching to claim your in-game goodies. But hold up! It’s not as straightforward as hitting “claim” and moving on. Instead, you’ll unlock your exclusive gear by completing two new questlines: A Wound in Time and Burning Trail. Here’s the scoop on getting those sweet, sweet rewards.
Unlocking the Goodies
- A Wound in Time: This quest nets you the Akatosh gear.
- Burning Trail: Complete this quest for the Mehrunes Dagon gear.
To kick things off, once you leave the Imperial City Sewers, make sure to tackle these quests early for some rad weapons and armor.
A Wound in Time Walkthrough
To grab that Akatosh gear, here’s how to dive into A Wound in Time:
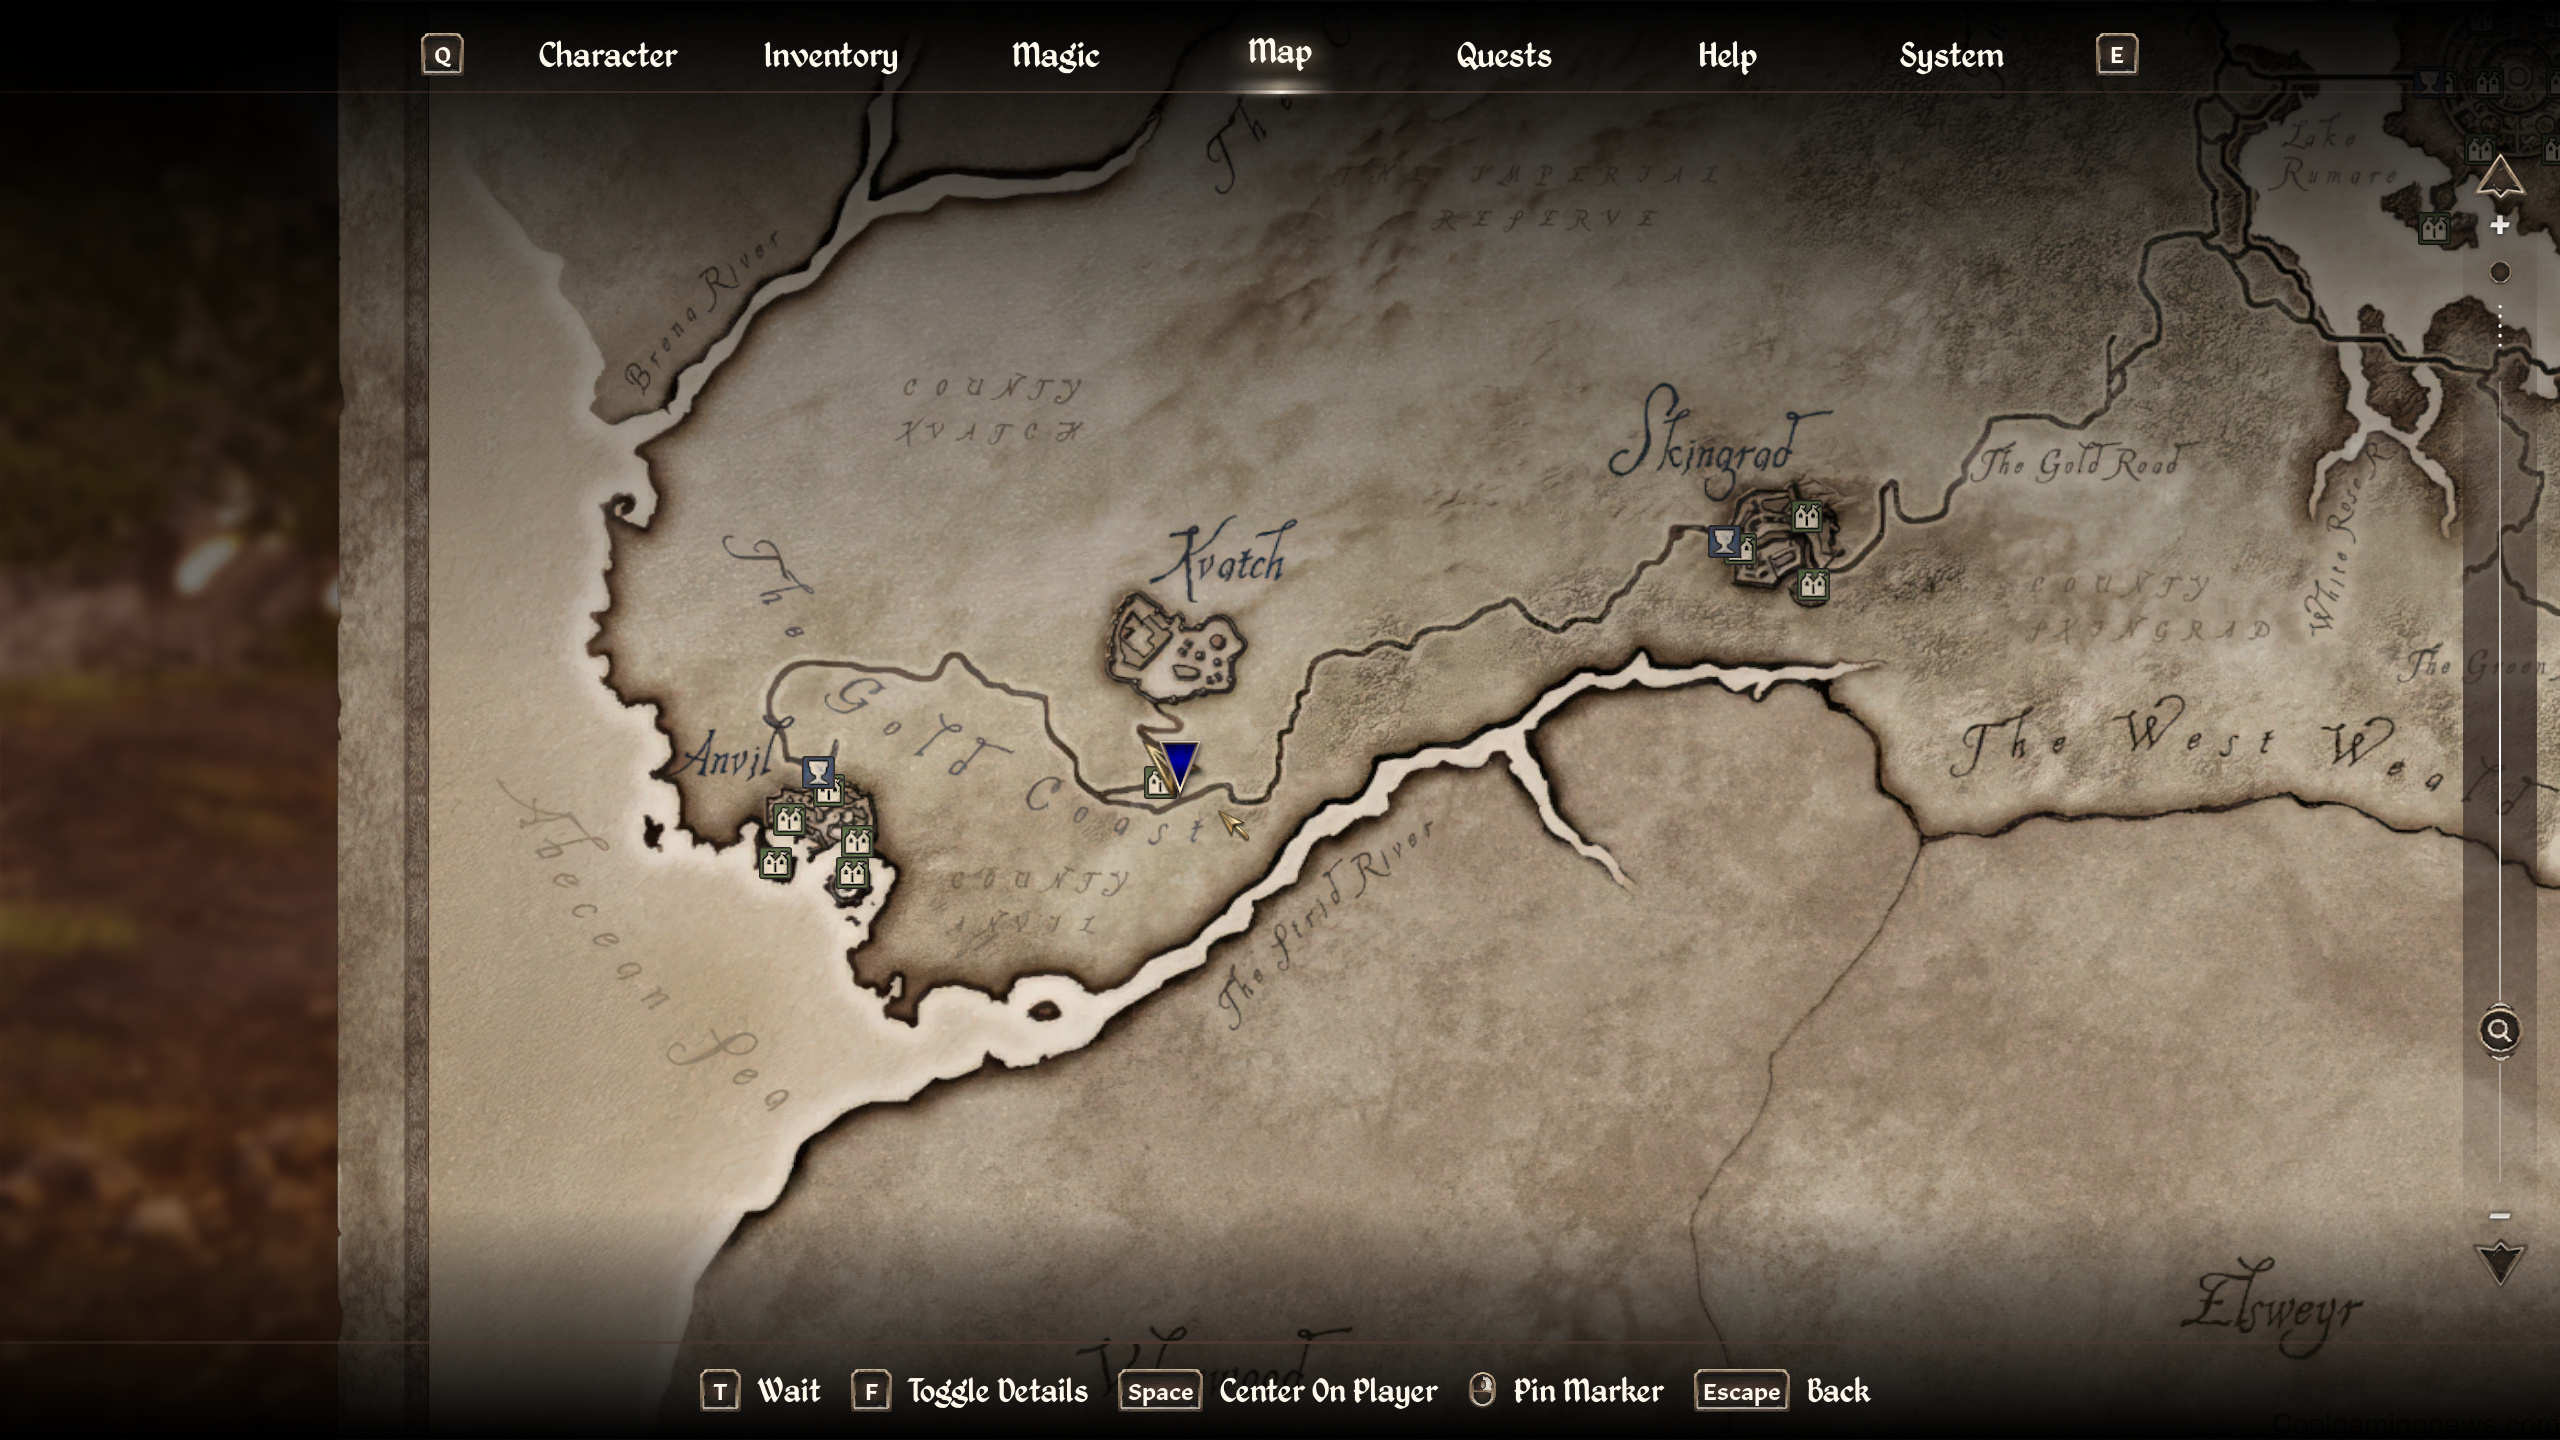
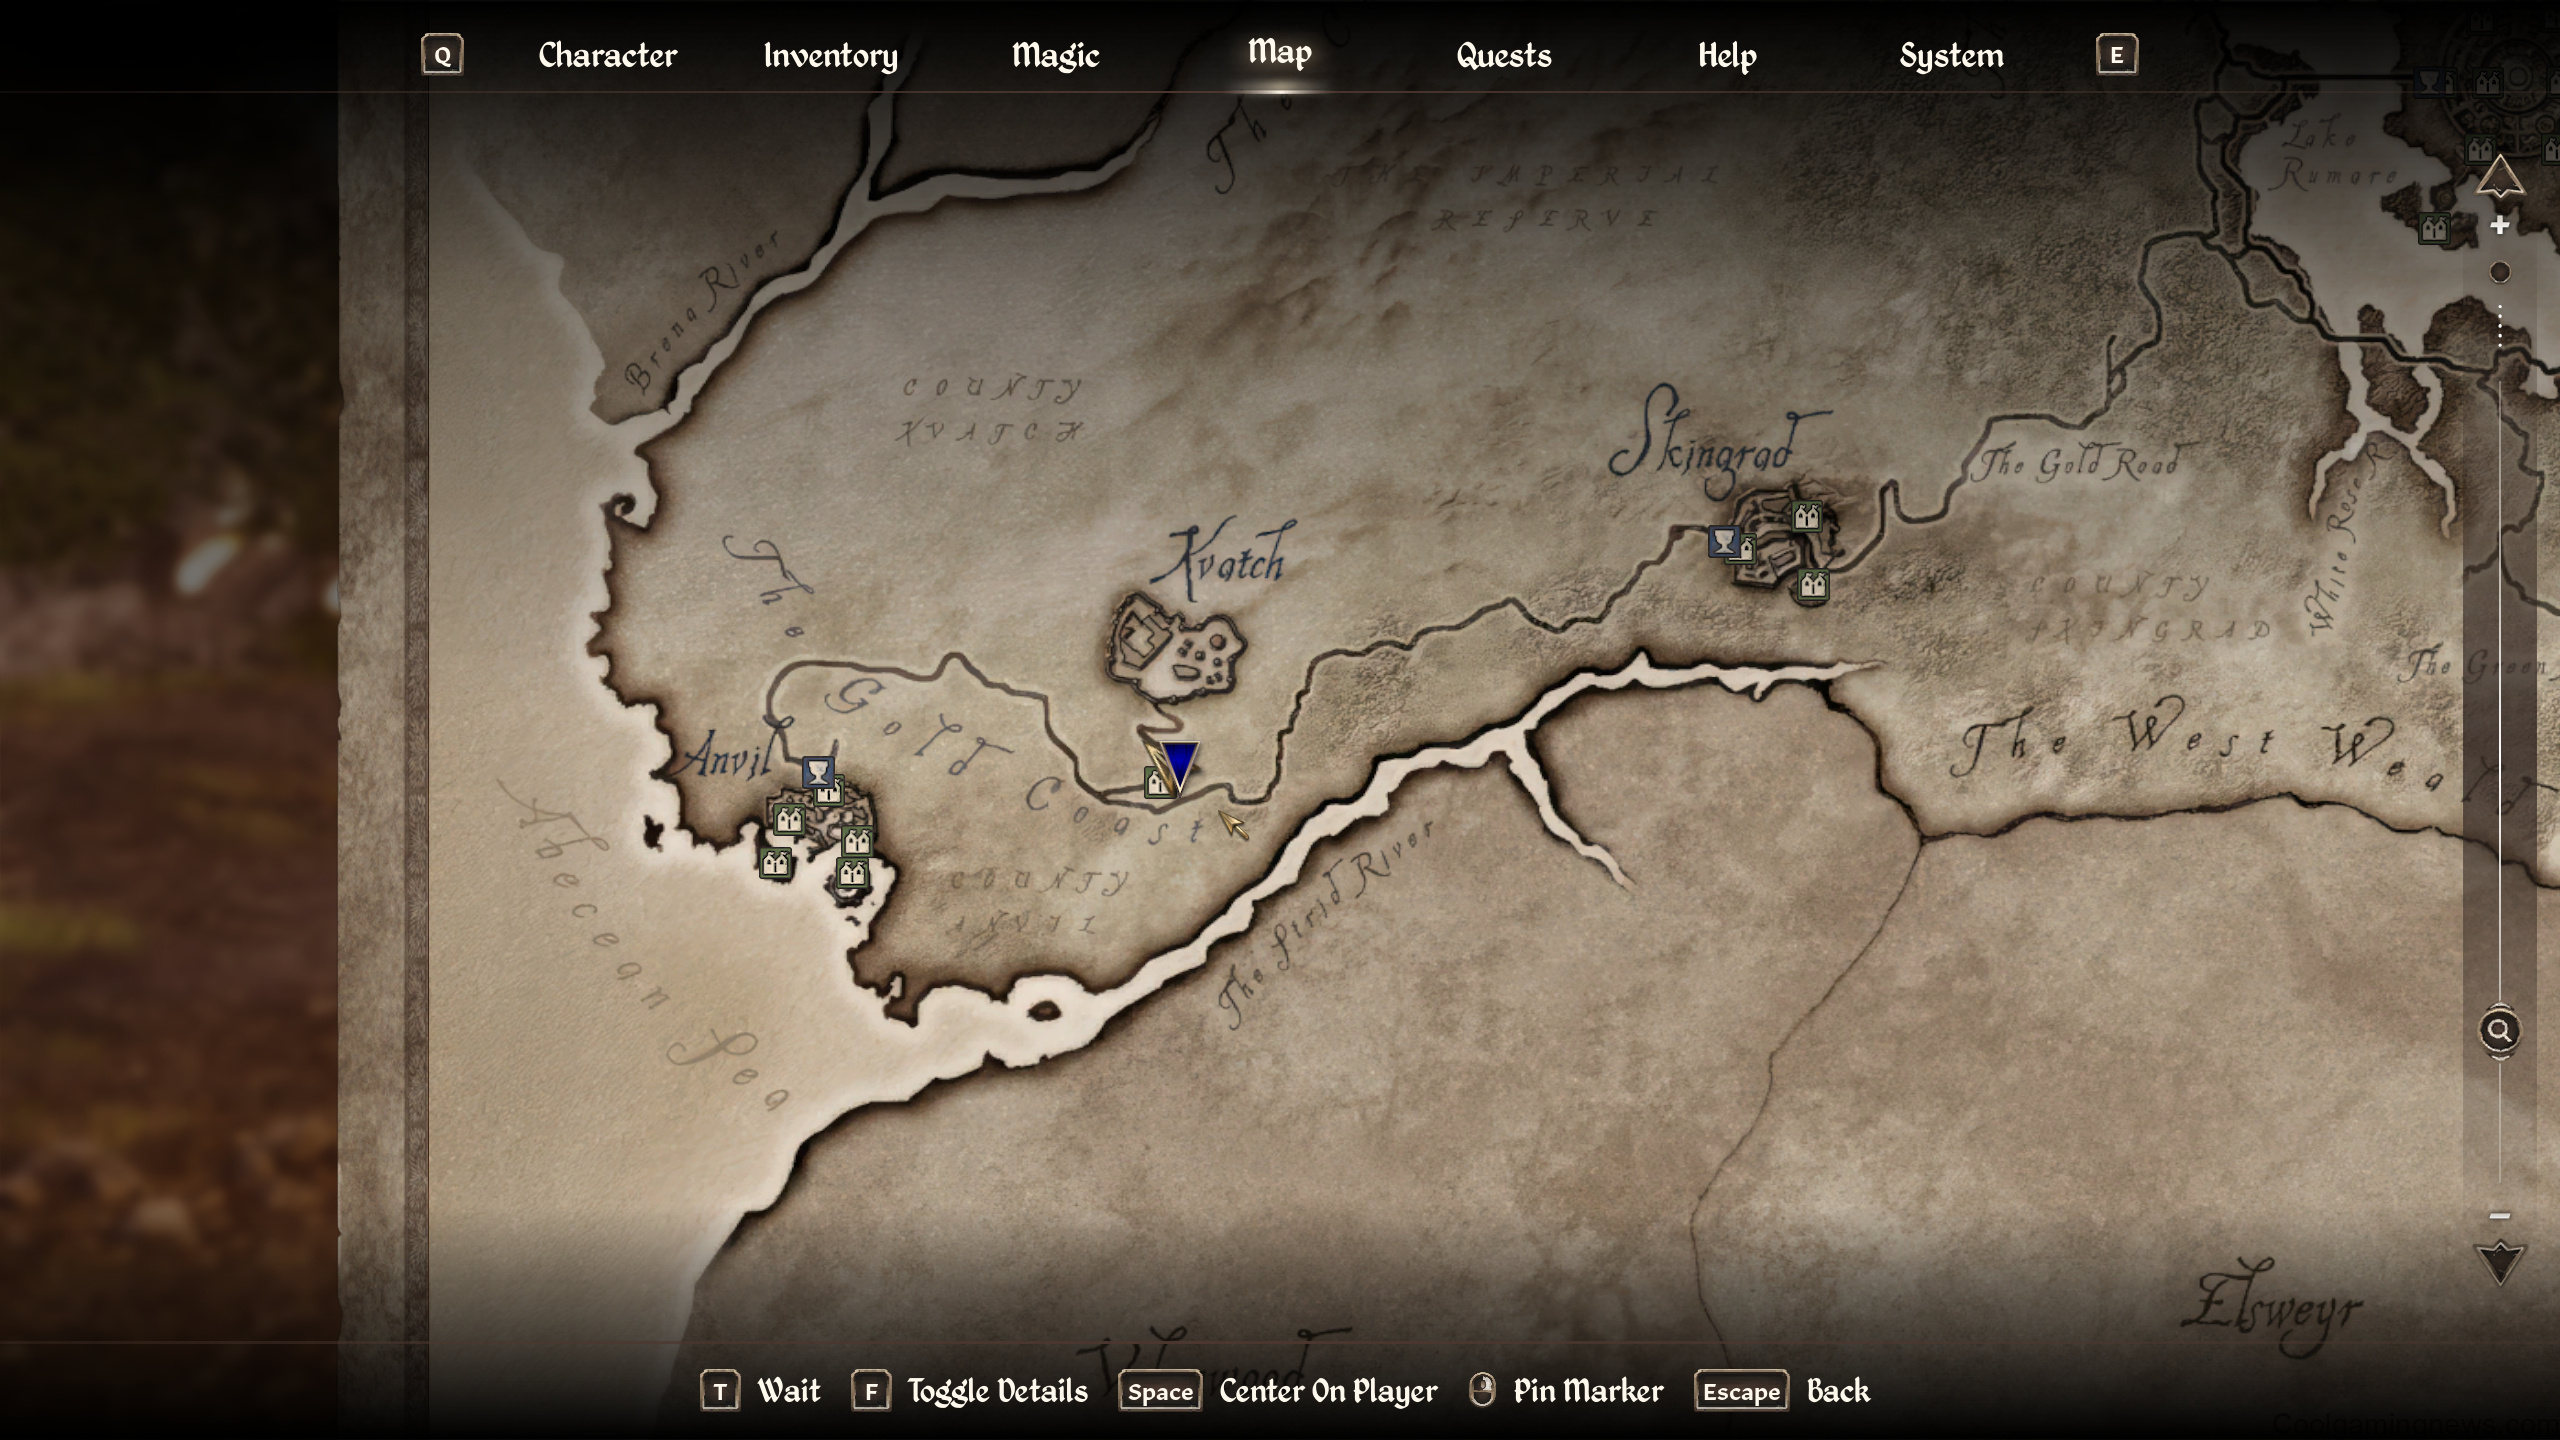
- Start the Quest: Speak to Ilav Dralgoner, who’s hanging out outside the Kvatch refugee camp. Make sure to ask about disappearances.
- Explore Beldaburo: Head to the Ayleid ruin located west of Kvatch. This dungeon isn’t too tough but make sure to thoroughly explore.
- Complete the Quest:
- Progress until you reach a magically blocked door.
- Return to Ilav and say “powerful magic.” He’ll bless you and automatically trigger the next quest.
- Back to Beldaburo, beat the Corelian Lich, scoop up the Elder Scroll, and return to Ilav.
- Claim Your Gear: Talk to Ilav one more time and say “equipment.” Here, you can pick out your gear.
Making the Most Out of Your Gear
When claiming your items, be mindful of your inventory limit. Grab a few key pieces first—don’t worry; you can always go back for more later!
Burning Trail Walkthrough
Now for the Burning Trail quest, which is a bit more convoluted but offers the cool Mehrunes Dagon gear.
- Starting Point: Pick up a Mythic Dawn pamphlet on the barrel adjacent to the dragon statue in Talos Plaza.
- Hircine’s Shrine:
- Follow the clues from the first pamphlet.
- You’ll find the next note by facing the wolf statue and heading slightly right.
- Collect the Notes:
- Keep heading towards Molag Bal’s Shrine for the second note.
- Look to the right at the shrine for the third note stuck on a tree.
- The fourth and last note is hiding at the Old Lady statue in Bravil—check the low wall near the statue.
- Wrap Up the Quest: After collecting all, head to the Lonely Suitor Lodge in Bravil to meet Ranaline. Use the persuasion feature to get her to cooperate.
Essential Tips and Tricks
- Summon Mechanics: After finishing The Crimson Cave related to Burning Trail, use the Summon Mehrunes’ Harbinger spell to claim your rewards.
- Inventory Management: Always keep an eye on your carrying capacity. Prioritize gear that actually enhances your playstyle.
Rewards Overview
Here’s what you can snag from both questlines:
Akatosh Gear
- Battle-Axe of Order
- Bow of Order
- Order Armor Sets (heavy and light)
Mehrunes Dagon Gear
- Battle-Axe of Cataclysm
- Bow of Cataclysm
- Cataclysm Armor Sets (heavy and light)
With these tips in hand, you’re all set to conquer Cyrodiil and flaunt those exclusive armors! Enjoy the adventure!
Game Information Box
- Title: Oblivion Remastered Deluxe Edition
- Developer: Bethesda Game Studios
- Platforms: PC, Xbox One, PlayStation 4
- Retail Price: $29.99
- Release Date: Expected in late 2023
- Where to Buy: Steam, PlayStation Store, Xbox Marketplace
The game mentioned in the walkthrough is “The Elder Scrolls IV: Oblivion.”
If you recognize this game, we’d love to hear your thoughts in the comments!

